Tile & Grout Tips
How Do You Clean Grease From Kitchen Tile and Grout Without Damaging It?

Learn how to clean grease from kitchen tile and grout with a careful test, material-safe products, gentle agitation, and realistic stop points.
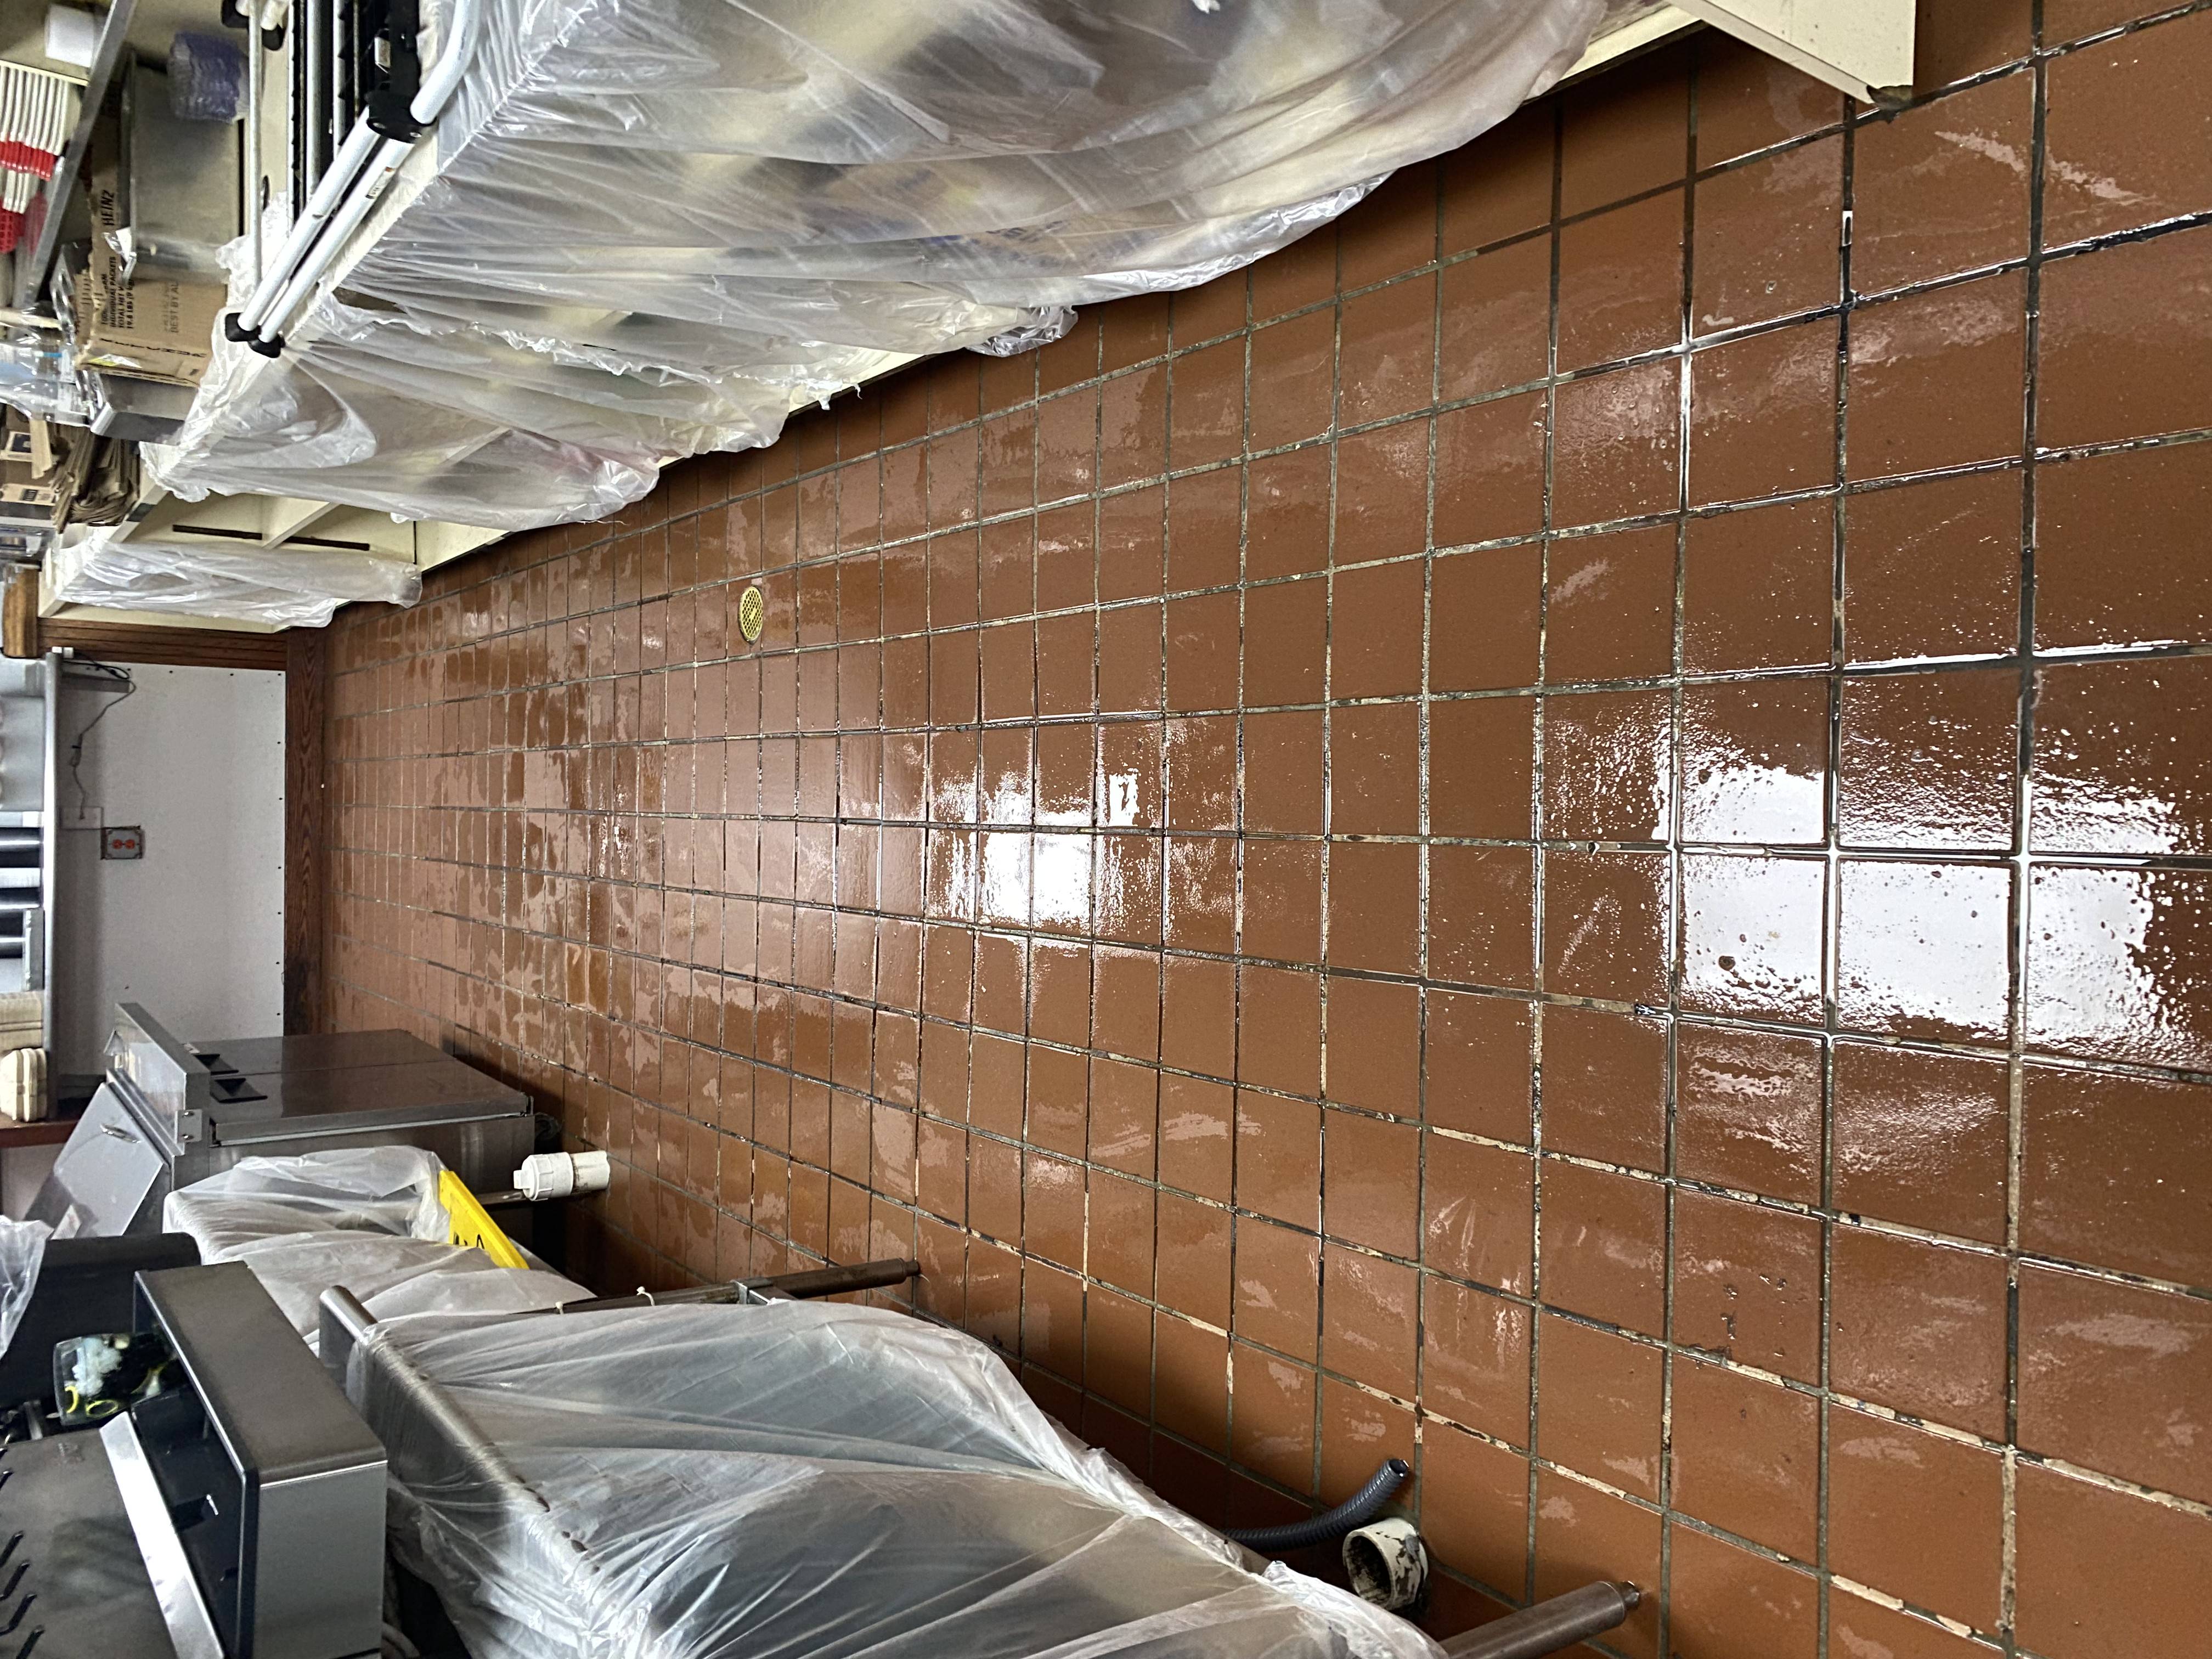
Start by removing loose debris and wiping up fresh grease, then clean a small test area with a product approved for both the tile and the grout. Use a soft brush on sound grout, lift the dirty solution, rinse as the product directs, and dry the floor. The right cleaner depends on whether the surface is glazed ceramic or porcelain, unglazed tile, or natural stone. A stronger product is not automatically a better or safer answer for greasy kitchen grout.
That distinction matters because grease can sit on a tile face, collect in the texture of a floor, or settle into the grout joints. A floor that still looks dark after mopping may have embedded soil, a film left by a cleaner, worn or damaged grout, or a combination. The steps below help you make a modest, safe first attempt and recognize when to stop.
First, identify the surface you are cleaning
Look for the tile’s installation paperwork, product label, or manufacturer care instructions if you have them. Glazed ceramic and porcelain are not the same as unglazed tile, marble, limestone, travertine, or other natural stone. A cleaner that is suitable for one surface may dull or damage another. The grout also has its own condition and care requirements.
Inspect the joints before applying anything. If grout is missing, crumbling, cracked, or pulling away from the tile, cleaning is not a repair. Work around the damaged area and arrange an evaluation instead of scrubbing harder. If you cannot identify the tile or any coating on it, keep the first attempt conservative and test in an inconspicuous spot.
The tile manufacturer American Olean’s porcelain care guidance recommends warm water and mild soap for routine porcelain care, compatible products for grout, and a neutral-pH tile cleaner for unglazed porcelain. Its natural-stone guidance calls for stone-specific neutral cleaners and warns that acids can etch many stones. Those are material-specific instructions, not permission to use one formula on every kitchen floor.
A careful first pass for a greasy kitchen floor
Make the area safe to work on. Keep people off the slippery patch, pick up loose items, and blot or wipe up fresh grease with a clean absorbent cloth. Do not spread it across the room with a mop.
Remove dry grit. Sweep or vacuum loose crumbs and tracked-in particles before wet cleaning. Grit under a brush or mop can abrade a finish.
Choose a compatible product. Follow the tile and grout maker’s directions and the cleaner’s label, including dilution, dwell time, ventilation, protective equipment, and rinsing. If the surface is stone, use a cleaner specifically approved for that stone. Do not mix products.
Test a small hidden area. Apply the diluted product only as directed. Check for color change, dullness, softened grout, or damage after it dries. Stop if anything changes unexpectedly.
Work in manageable sections. Apply only as much solution as you can remove before it dries. Gently agitate sound grout with a soft brush if the product allows it. Do not use metal tools or an abrasive pad as a shortcut.
Lift the soil, then finish the floor. Wipe or extract the dirty solution rather than pushing it into adjacent joints. Rinse if the product directions require it, use clean water and cloths, and dry thoroughly. Keep foot traffic off the area until it is dry and no longer slippery.
If the test section improves but the whole floor remains tacky, check whether cleaning solution was left behind. Our related guide explains why tile can feel sticky after mopping. Repeating the same wet pass without removing the dirty solution can move the film around instead of resolving it.
Why the grout may stay dark after the tile looks clean
The face of a tile is often easier to wipe than the narrow, textured grout joint. Cooking oil, tracked-in soil, and mop water can accumulate along those joints. A dark line does not, by itself, tell you how much is removable grease. Grout can also be discolored, worn, previously coated, or structurally damaged.
Compare a small, cleaned-and-dried test section with a nearby untreated section. Look at it only after it is fully dry. Wet grout often appears darker temporarily; our guide to grout that darkens when wet explains why that observation alone is not a cleaning result. If the test section remains dark after appropriate cleaning and drying, more force is not a reliable next step. It may need a material and condition assessment.
Sealing is a separate question. It does not remove grease already in the joint, and it cannot replace missing grout. Cement-based grout and epoxy grout are not maintained identically. If you are considering a sealer after cleaning, read when grout sealing makes sense and confirm the product is appropriate for the specific installation.
What to avoid on tile, grout, and natural stone
Do not assume that vinegar, a strong acid, ammonia, bleach, or an abrasive scrubber is a universal kitchen-grout fix. American Olean warns against acids and ammonia on its porcelain-and-grout care page, and against acid or bleach in routine natural-stone care. The stone guidance specifically notes that acids can etch marble and limestone. A dull etched area is surface damage, not grease that another cleaner will simply wash away.
Avoid mixing cleaners or using an unlabeled product. Do not leave a strong cleaner on the floor longer than its instructions allow. The directions for a product matter as much as its name: some require a specific dilution, rinse, or compatibility check. On a porous or textured floor, extra solution may be difficult to remove from grout and low spots.
Be cautious with steam, stiff brushes, and pressure. Heat and aggressive agitation are not a substitute for identifying the tile, grout, sealer, and soil. If a joint is loose or a coating is failing, force may make the condition worse. The safest DIY boundary is a small, compatible test, not a whole-floor experiment.
When professional evaluation is worth it
Consider a professional assessment when grease is widespread, the grout stays dark after a careful test, the floor has a persistent film, or you are unsure whether the tile is natural stone or coated. Also stop if you see cracked tile, missing grout, a loose joint, unusual discoloration, or a change in the finish. Cleaning cannot repair those conditions, and no responsible cleaner should promise that every dark joint will return to one uniform color.
For a restaurant or other commercial kitchen, the scope depends on the floor, buildup, drainage, access, operating schedule, and safety conditions. Adams Cleaning’s tile and grout cleaning service can review kitchen tile and grout, including whether degreasing is appropriate during a commercial walkthrough. A written scope should distinguish cleaning from any repair, coating, or sealing work.
If you request an estimate, send clear photos of the floor and close-ups of the worst joints, identify the tile if you can, and mention what cleaners or coatings have already been used. If you are in our Towaco service area or nearby North Jersey, you can request an estimate for an evaluation and an appropriate cleaning plan.
Keep the buildup from returning as quickly
Wipe up fresh cooking spills promptly instead of allowing oil to spread into the joints. Remove crumbs and grit before mopping, use a cleaner approved for your floor at the stated dilution, and change the solution when it becomes dirty. A clean rinse, when required by the product, and thorough drying help prevent a new film from being left behind.
Watch the areas beside cooking equipment, under movable mats, and along grout lines where residue collects. A mat should be appropriate for the floor and should be lifted and cleaned according to its own care instructions; hiding a greasy patch beneath it does not solve the cause. If one test area repeatedly becomes dark while the rest stays clean, document that pattern for a professional rather than escalating to harsher DIY treatment.
The practical answer is to treat greasy kitchen grout as a surface-and-material problem, not just a stain. Identify what you have, begin with a small compatible test, remove the dirty solution completely, and stop when the result or the condition of the floor calls for a closer look.